I love making cakes for my kids birthday parties – I find it fun to design, bake, and decorate the cake. This cake was surprisingly simple but honestly my favorite to make. When I make cakes to decorate I typically use boxed cake mixes as they are quick to make and are typically dense enough to withhold their shape while decorating.
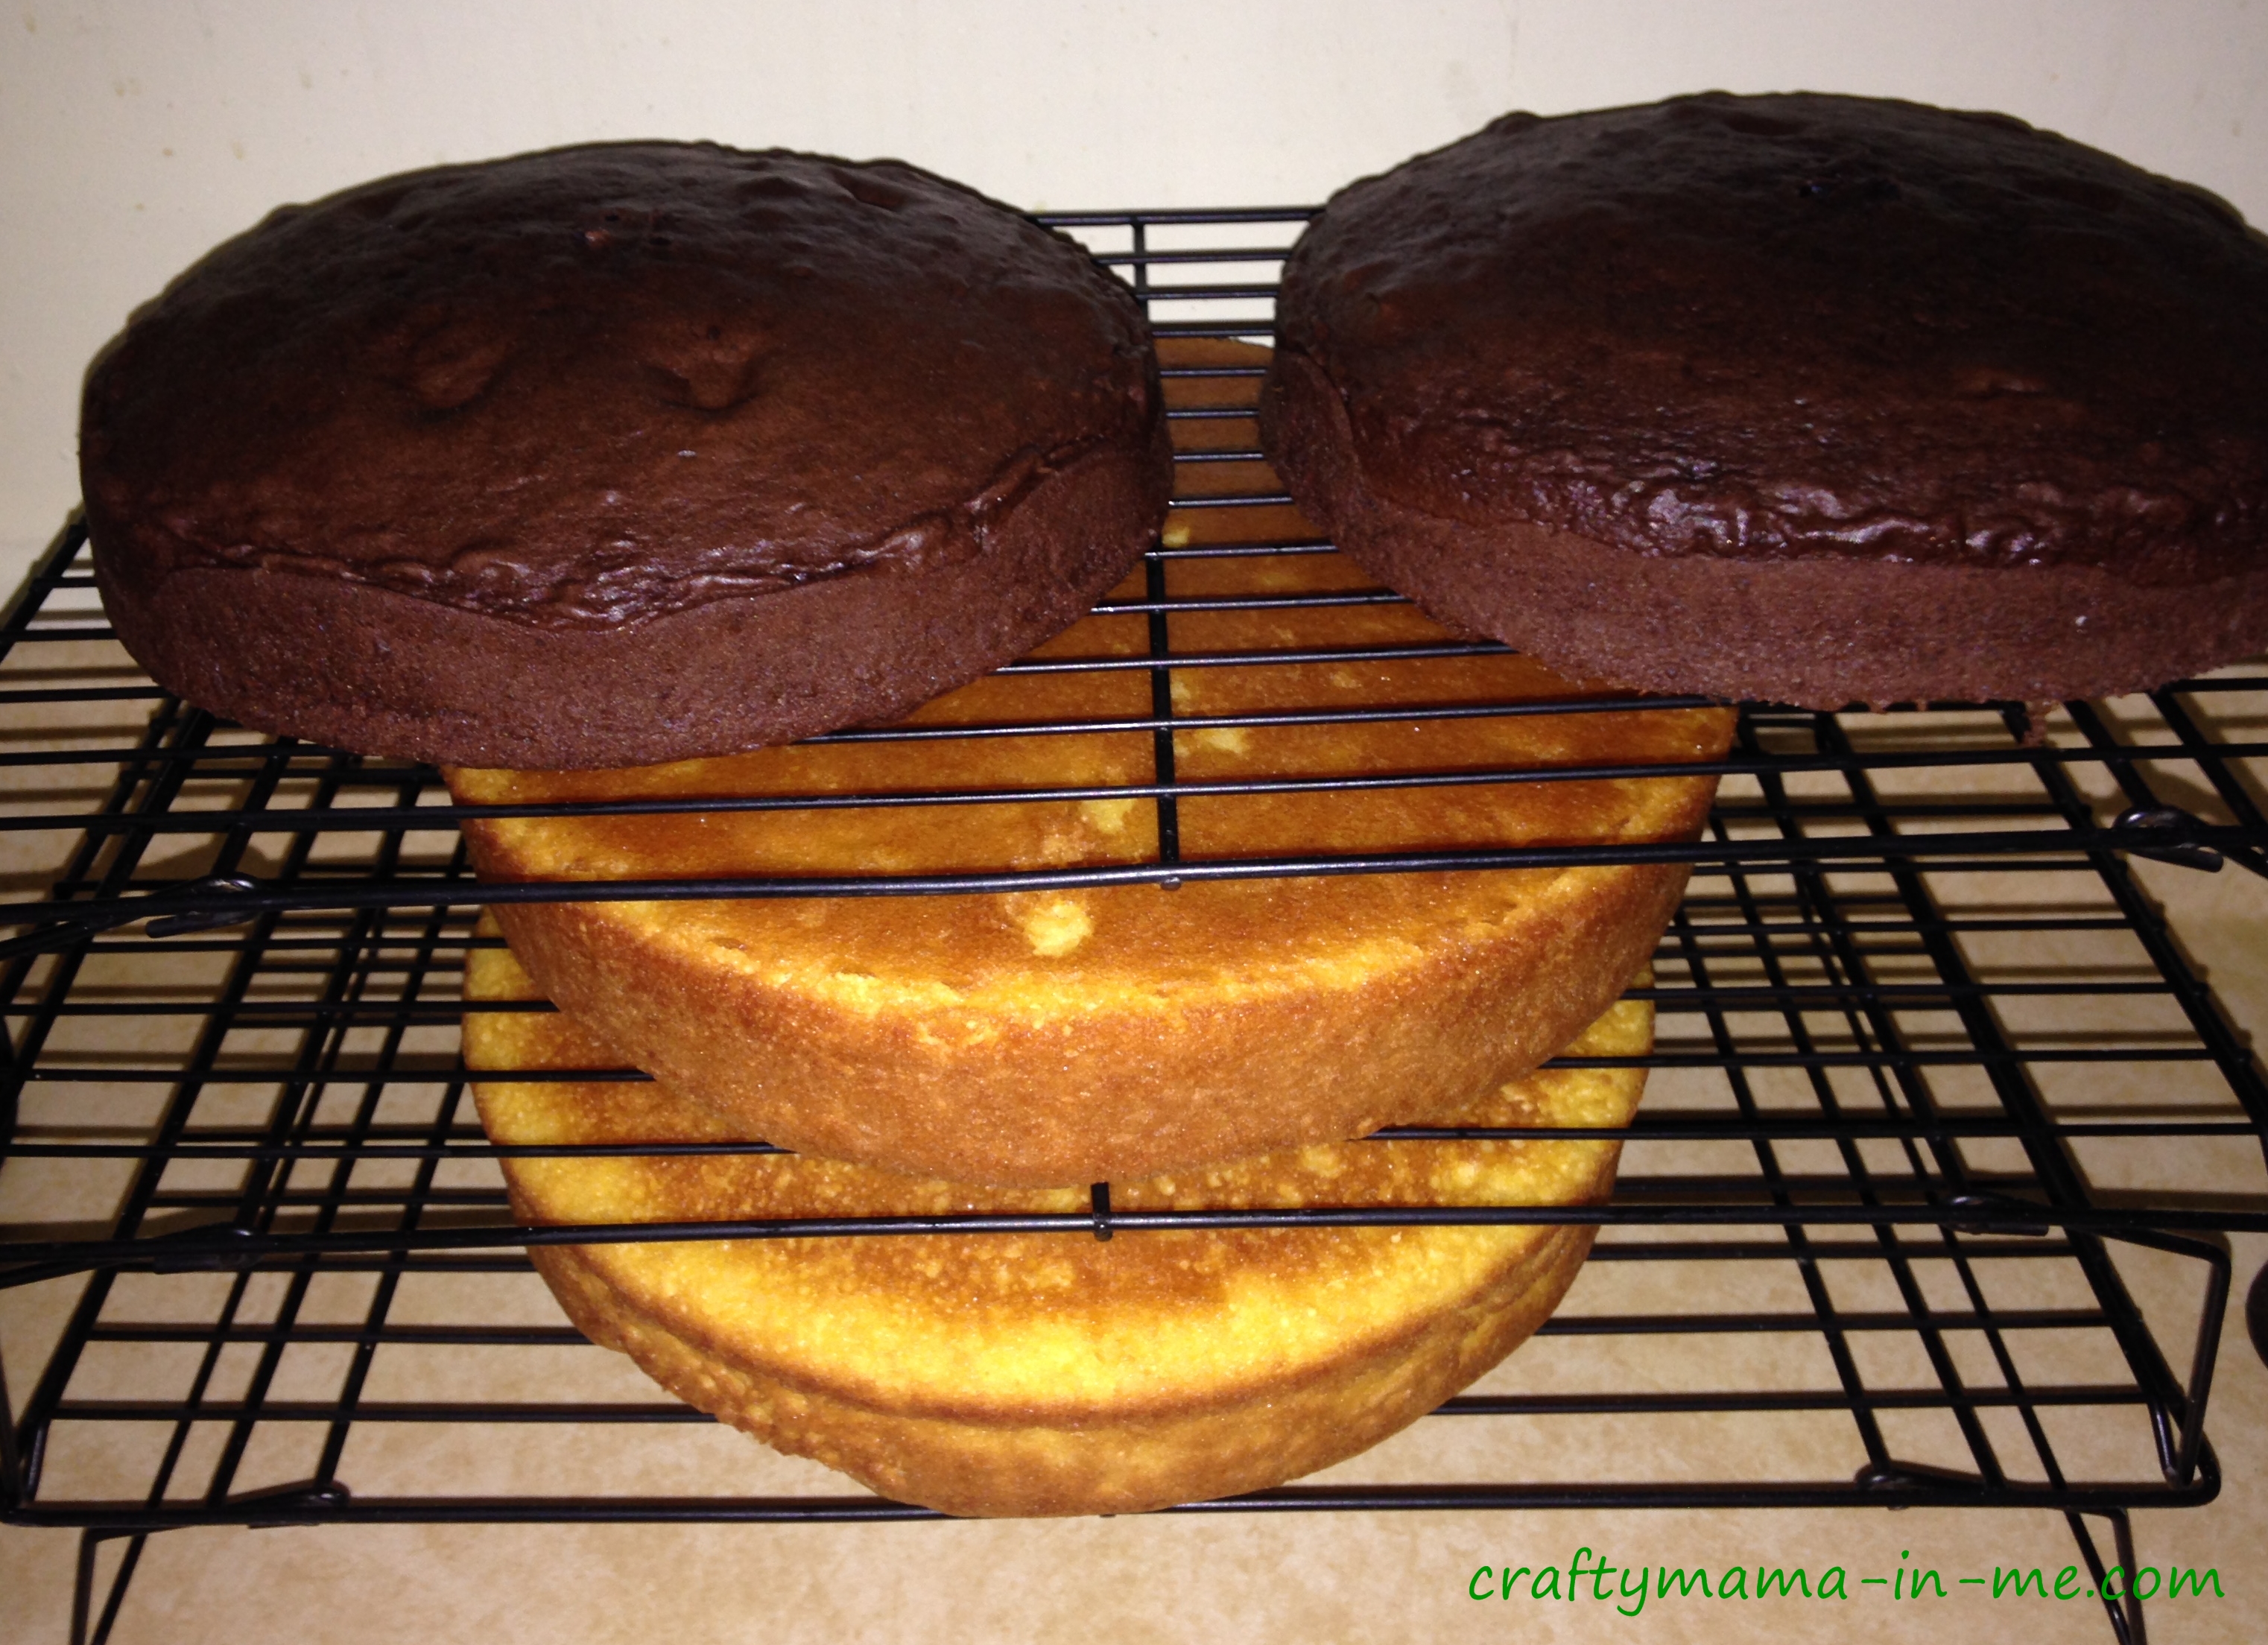
This cake I decided to make fairly simple and elegant – my daughter loves girly things and sparkles (I mean what girl doesn’t – right?). I decided to do a two tier cake – the top tier was two eight inch rounds (one box of cake mix) and the bottom tier was two ten inch rounds (two boxes of cake mix). The top cake was chocolate filled with a mint chocolate chip frosting and bottom cake was yellow filled with a chocolate fudge frosting.
The mint chocolate chip frosting recipe came directly from Sally’s Baking Addiction.
MINT CHOCOLATE CHIP FROSTING
- 1 cup unsalted butter, softened to room temperature
- 3-4 cups powdered (confectioners’) sugar
- 2 Tablespoons heavy cream
- 1/4 teaspoon peppermint extract
- 2 drops green food dye
- pinch of salt, as needed
- 2/3 cup mini chocolate chips
The Chocolate fudge frosting is from my Betty Crocker cookbook and I have posted it on here before – the recipe is as follows:
CHOCOLATE FUDGE FROSTING
- 3 cups powdered sugar
- 1/3 cup butter or stick margarine, softened
- 2 tsp vanilla
- 1/3 cup baking cocoa
- 3 to 4 tbs milk
I dirty iced both cakes separately the day I baked them to help them maintain their moisture. I decorated them the next day. I used the Wilton buttercream recipe for all decorating which is below – I made a double batch and had extra leftover:
WILTON BUTTERCREAM
-
1/2 cup solid vegetable shortening
-
1/2 cup (1 stick) butter or margarine softened
-
1 teaspoon clear vanilla extract
-
4 cups sifted confectioners’ sugar(approximately 1 lb.)
-
2 tablespoons milk
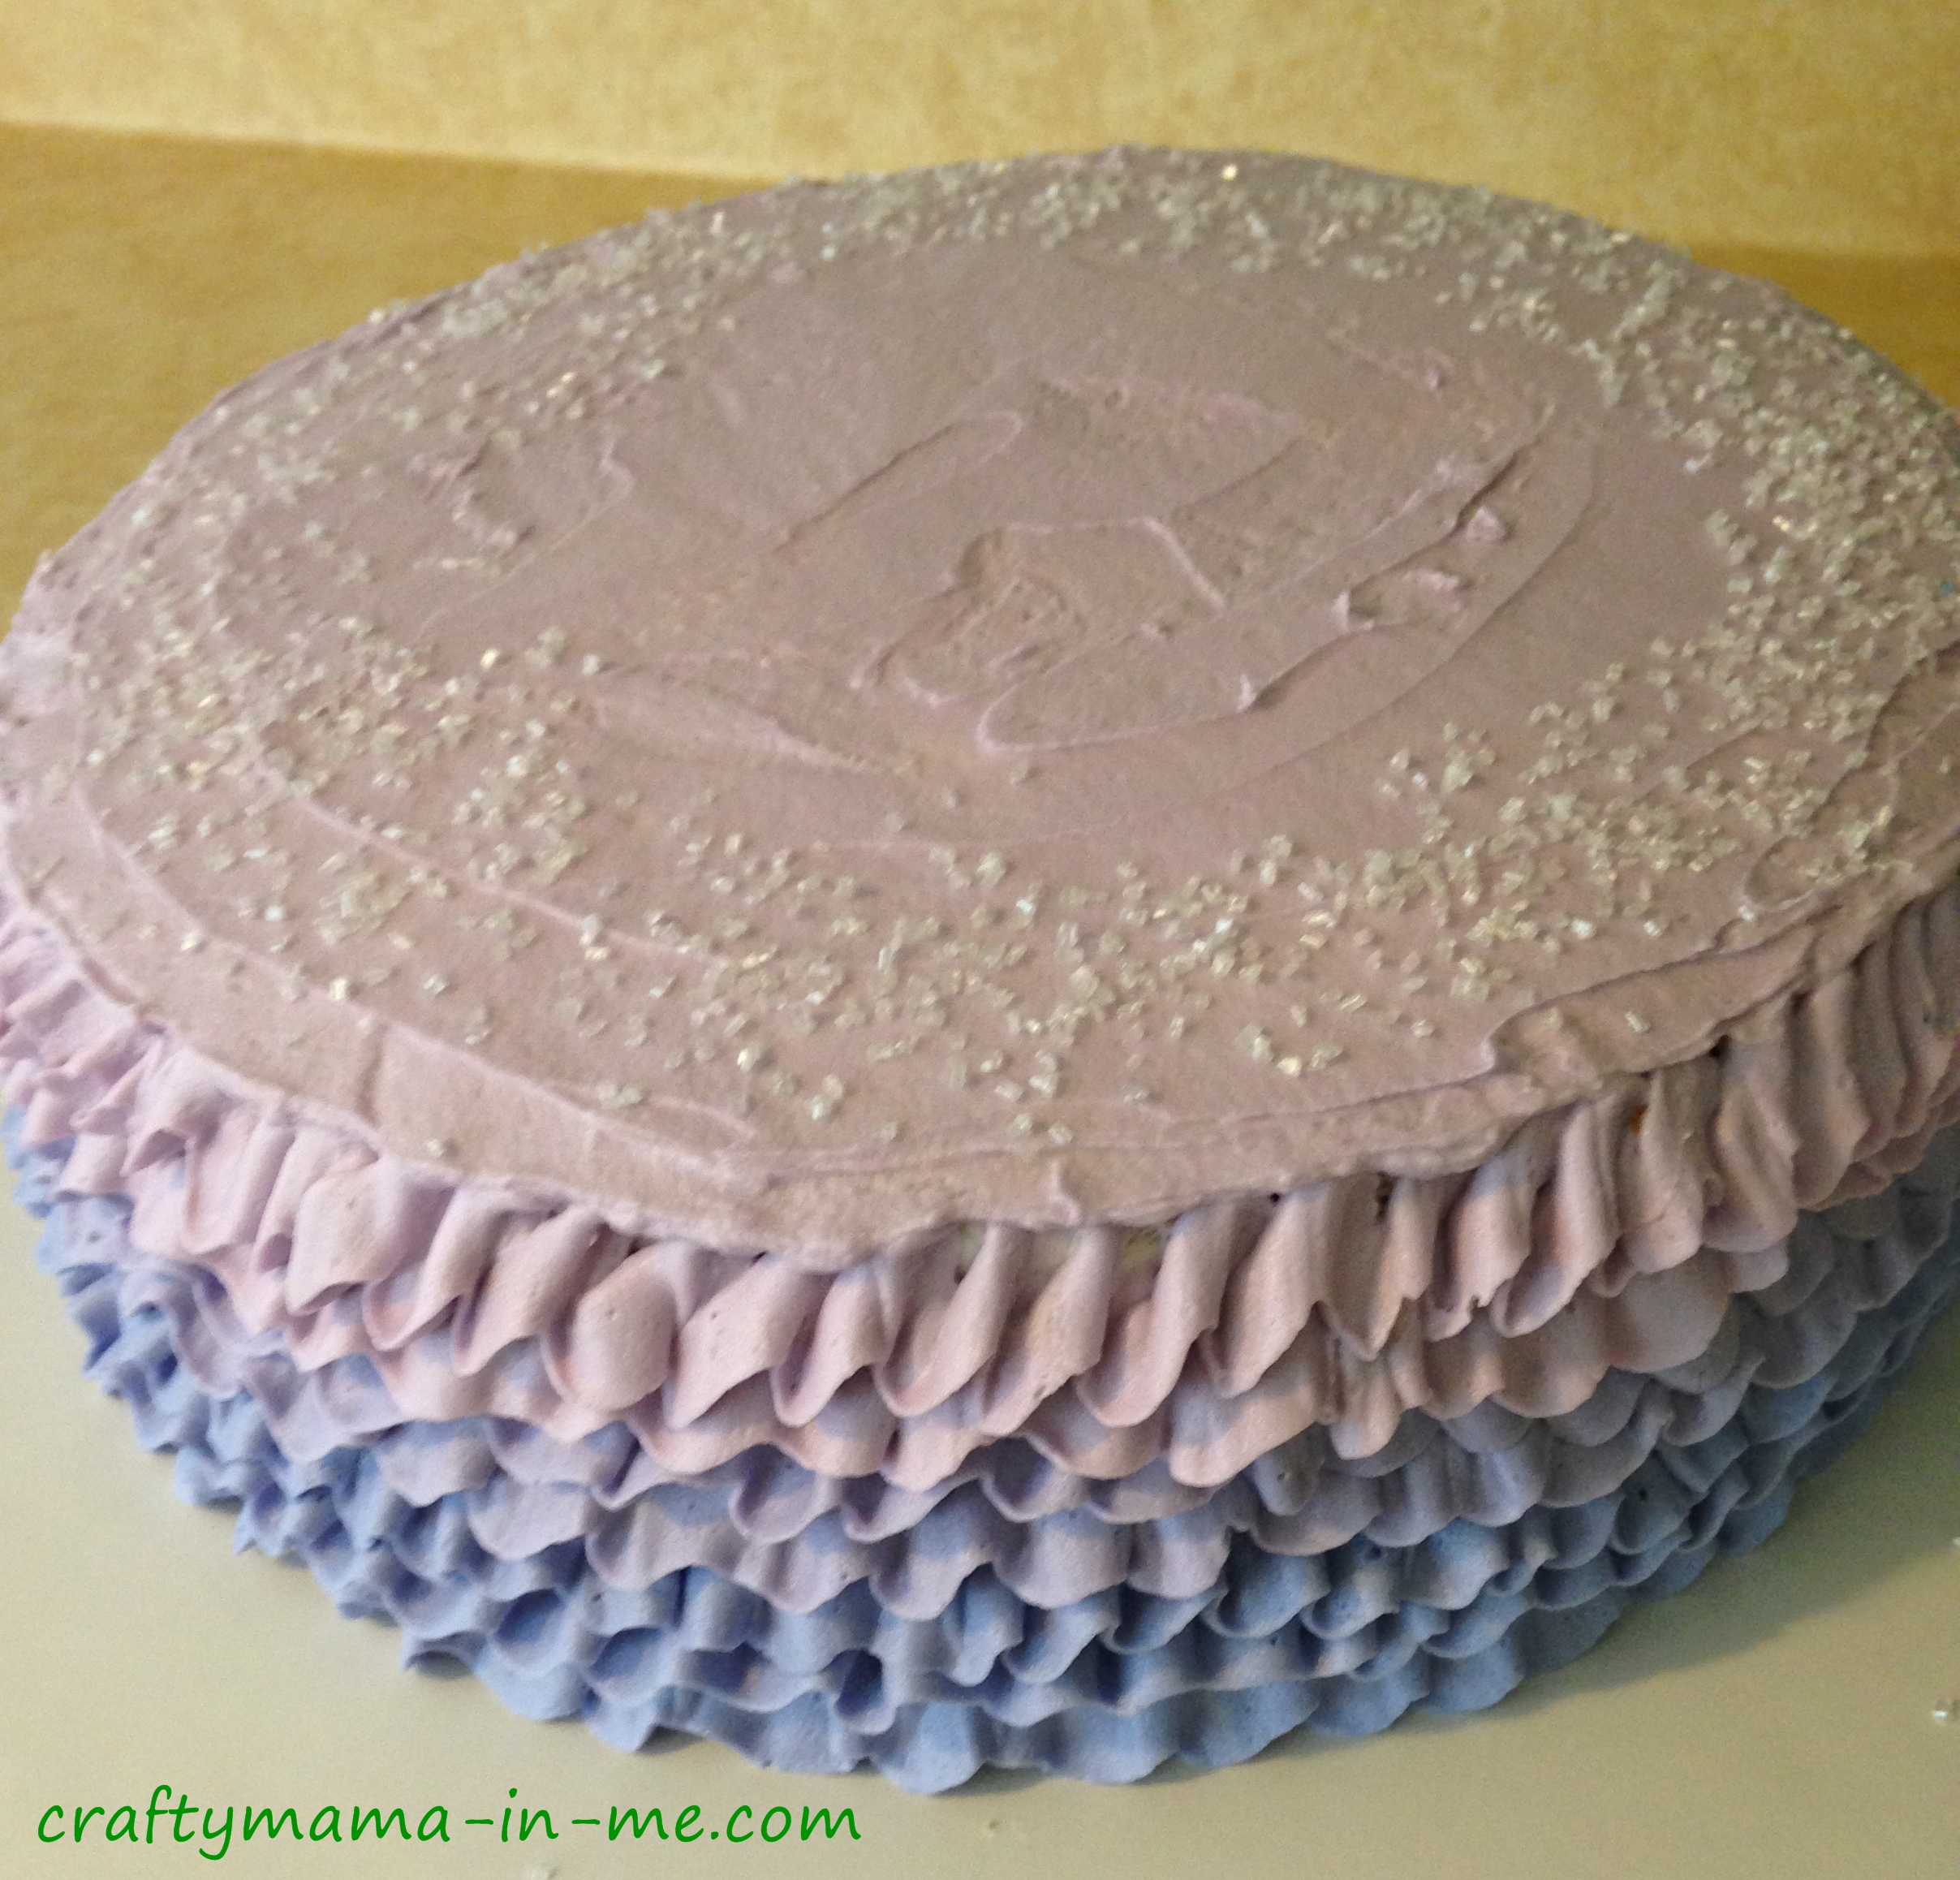
I used Wilton gel food coloring to color my frosting. After I made the colors I wanted I started with the ten inch base cake. I used a ruffle technique for this that I found a tutorial for here. I thought this was going to be time consuming but it was honestly pretty easy and only required Wilton tip #104, a few different couplers (3 as I used 3 colors) and a turntable (all of these I already had on hand from other projects). After I finished with the ruffles I frosted the top of the cake – in retrospect I should have frosted the top of the cake first. I then added a ring of white sanding sugar (purchased at Hobby Lobby) around the edge.
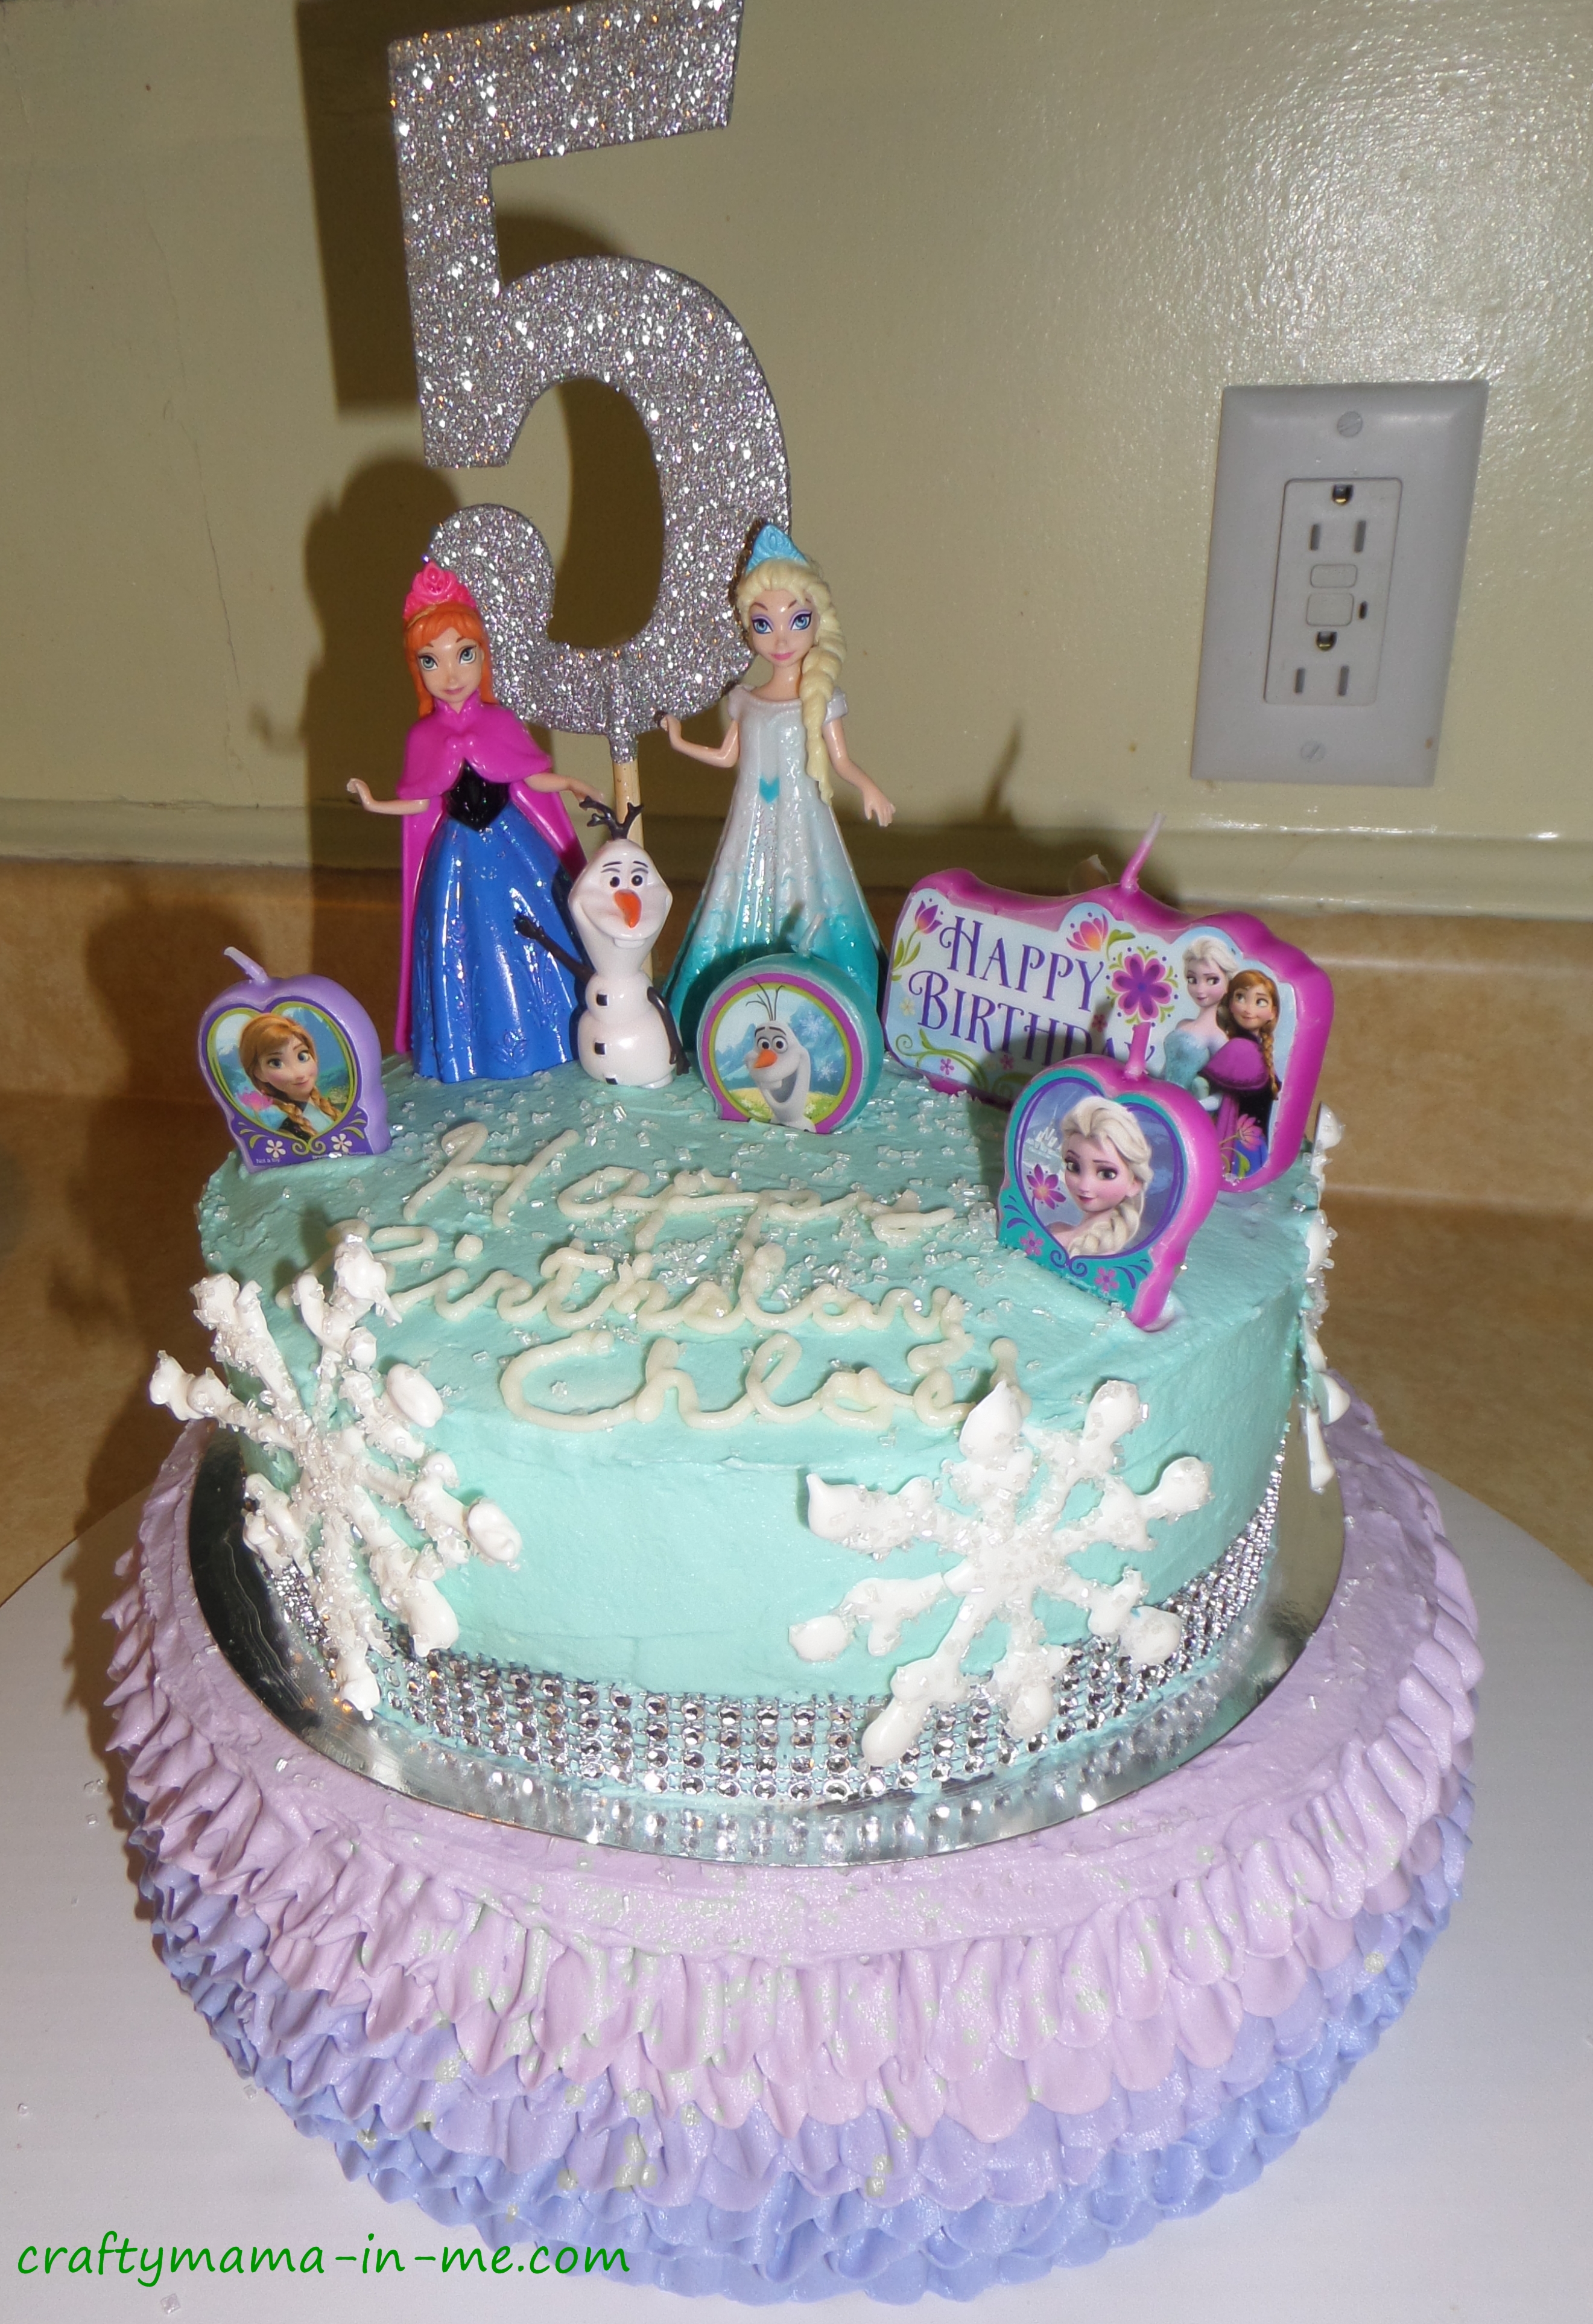
I placed my eight inch round cake on a shiny nine inch aluminum round disposable pan cover to allow me to decorate it first and then place it on top of the ten inch base cake. This worked well as it created another reflective surface and reflected up against the “diamonds”. I frosted the cake in a light blue and then moved it onto the base cake. After it was in place I added some white sanding sugar on the top and then put the silver cake bling around the base (this was also purchased at Hobby Lobby in the cake decorating section).
I added the snowflakes I had made previously from Wilton chocolate melts around the edge. When I made the snowflakes I piped the white melts into the shape of snowflakes on wax paper, covered them in the sanding sugar and let them harden. This idea came from Little Delights Cakes, Cupcakes, and Cake Pops and their tutorial can be found here.

Next I added the number 5 (also a Hobby Lobby purchase), Elsa, Anna, and Olaf. I used white frosting and piped Happy Birthday on the top then added the Frozen themed candles.
Sometimes I spend half a day if not more decorating my kids birthday cakes – this one was done in under two hours. I was honestly shocked when I finished it so quickly. My daughter loved it and that was the most important thing!