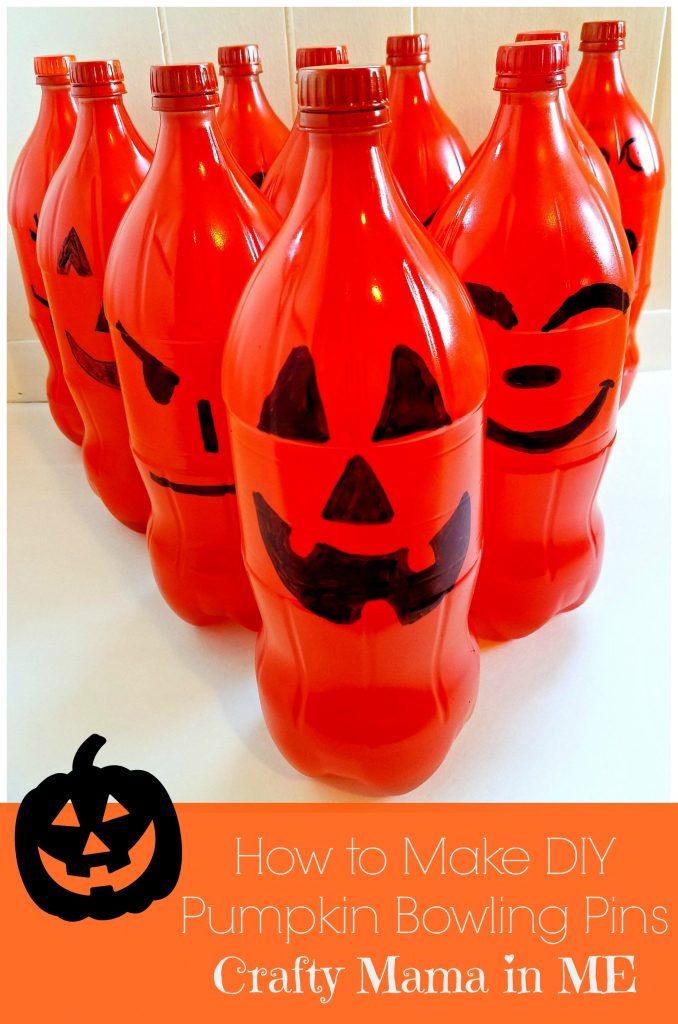
How to Make DIY Pumpkin Bowling Pins
Are you looking for a fun and easy DIY Pumpkin themed project that the kids will be sure to love? If so keep reading to see how easy it was for me to make DIY Pumpkin Bowling Pins by upcycling empty soda bottles. This project was made WAY easier with the help of Goo Gone! Gather up a few simple materials and get started creating pumpkin themed bowling pins that are sure to be the hit of your next Halloween party!
Materials Needed
- 10 empty soda bottles with lids (I used 2 liter bottles but you could also use smaller sized bottles)
- Orange Spray Paint
- Black Permenant Markers
- Goo Gone
- Clean rag or towel
- Newspaper
Instructions
- Collect empty soda bottles – once you have ten you are ready to move on to the next step.
- Peel the labels off the bottles.
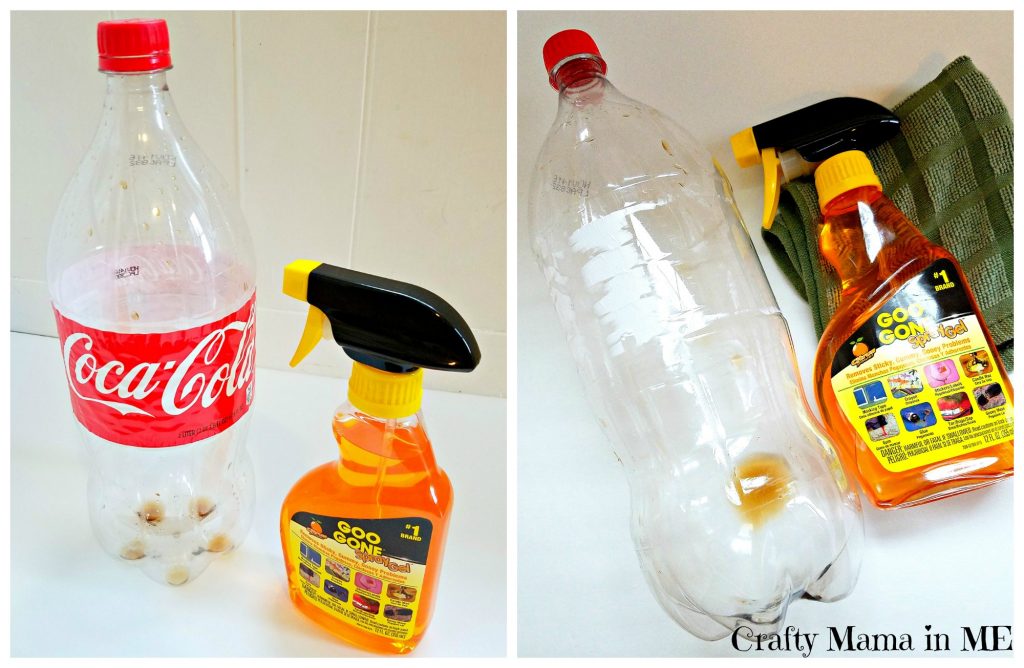
- Spray Goo Gone on the adhesive residue that is left, rub the gel in (this was necessary due to the curves of the bottles), and allow to sit (the longer you leave the bottles – the easier I found to remove the label).
- After the bottles have set use a cloth and wipe off the remaining adhesive residue. Some bottles were easier then others (hint – remove as much of the plastic wrapper as possible to allow the Goo Gone to make direct contact with the adhesive residue).
- Open the bottles and add a few inches of water to weigh the bottles down.
- Dry the bottles thoroughly.
- Prepare a spot outside to spray paint the bottles (I laid out old newspaper) – make sure it is not a windy day as spray paint travels.
- Completely spray paint all of the bottles and caps while they are standing up.
- Allow to dry thoroughly.

- Apply a second coat if needed.
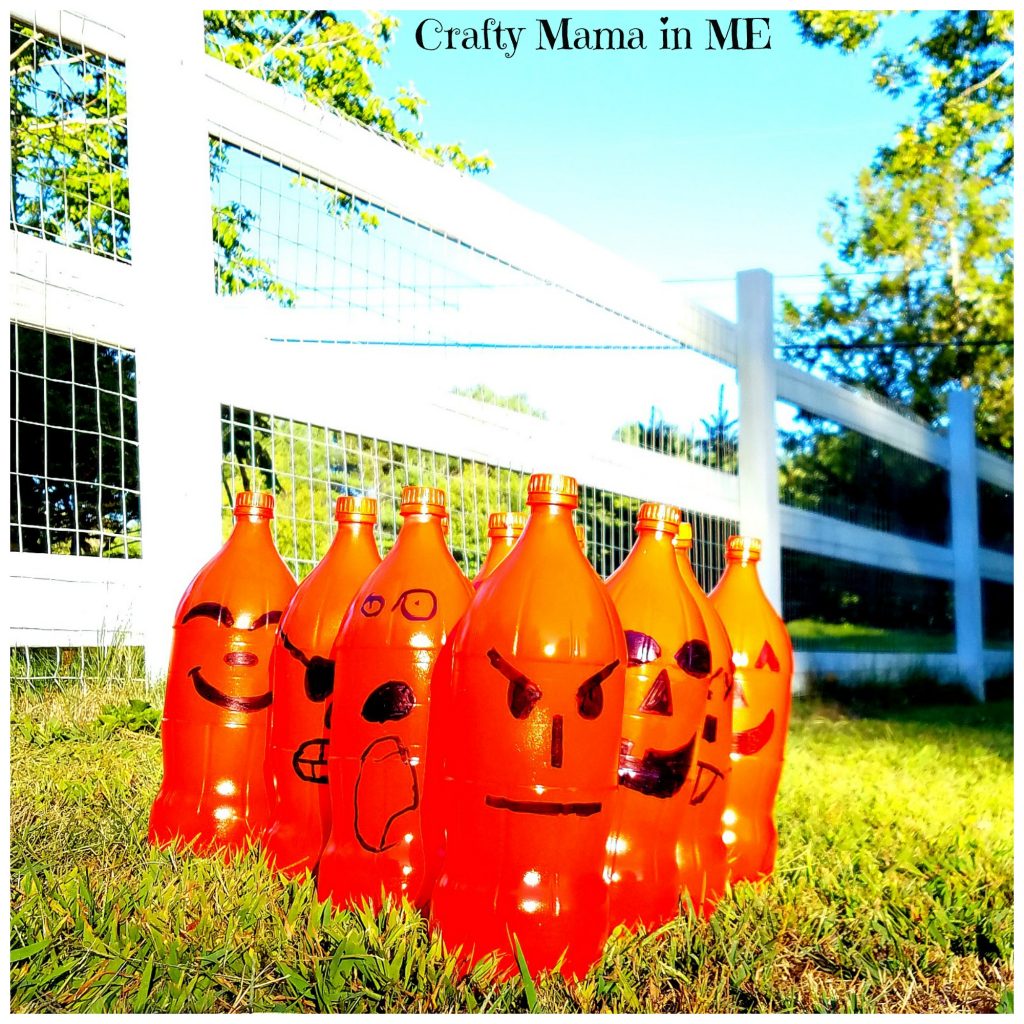
- Draw on jack-o-lantern faces with black permanent marker (this is a great step to get the kids involved).
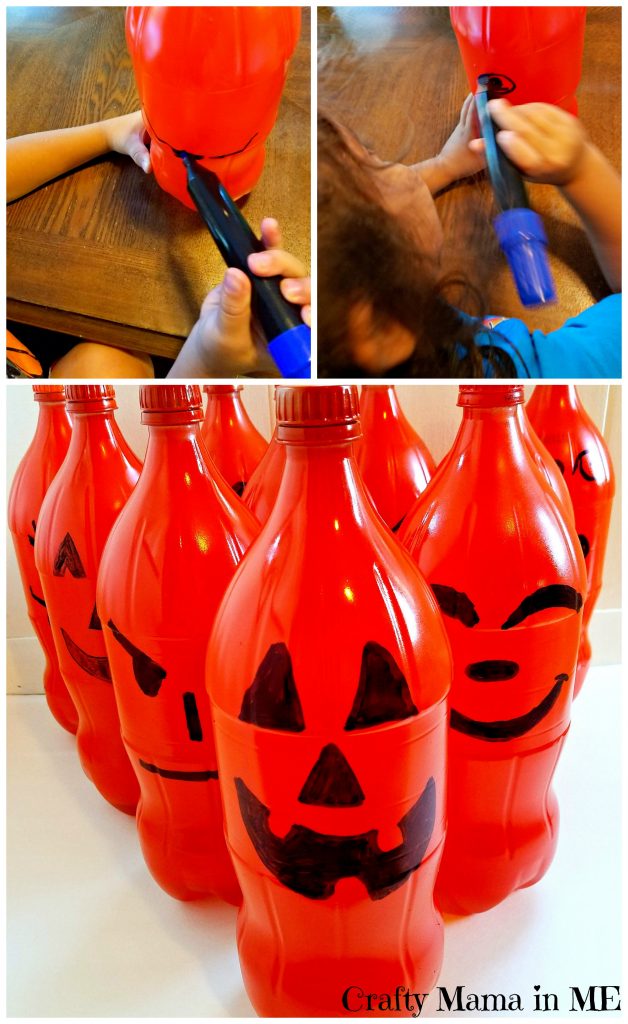
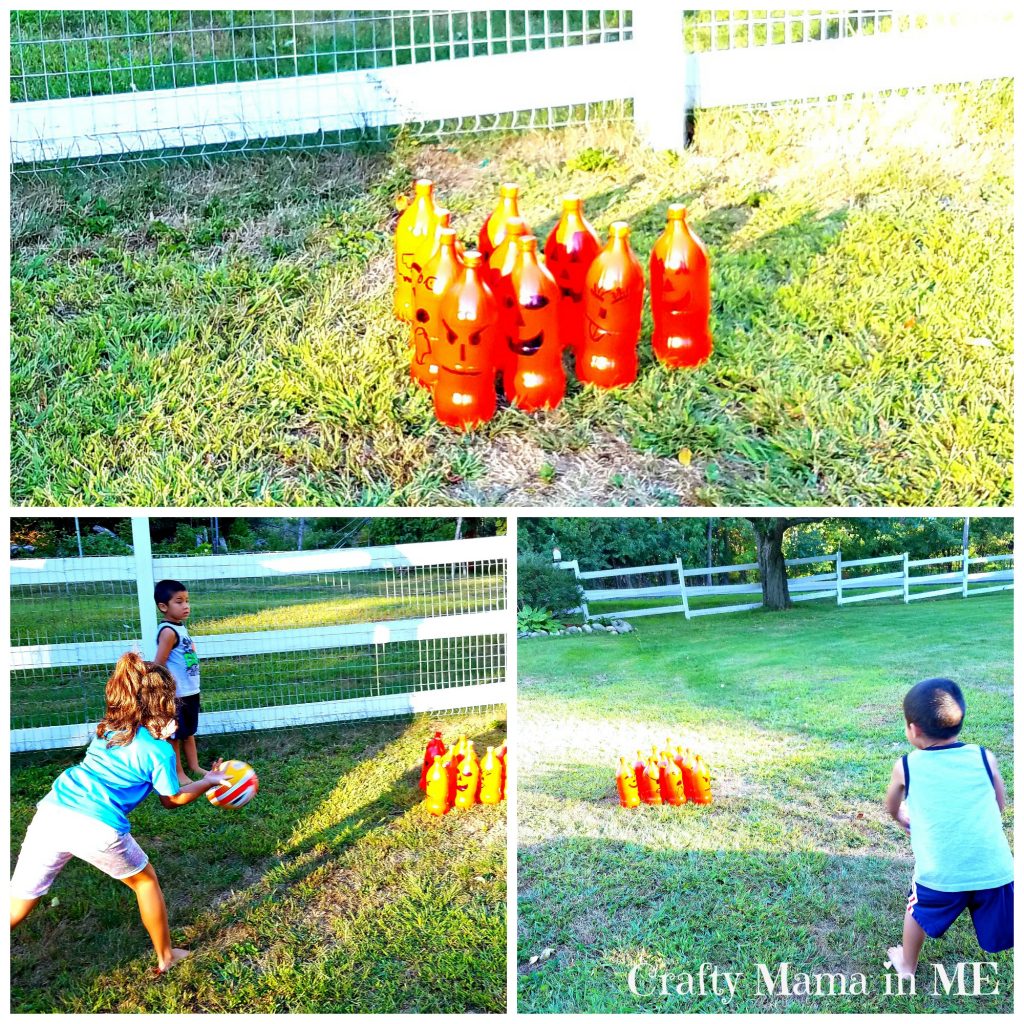
- Set the “pins” up in a triangle shape (4, 3, 2, 1).
- Find a ball and start bowling.
- Hint – adding and removing water will increase or decrease the level of difficulty.
This project took me less than day to complete from start to finish. The bulk of the time was spent waiting for the paint to dry completely. Removing the label adhesive was made way easier with Goo Gone Spray Gel! I sprayed it on – rubbed it in and left it for a bit. Upon returning I still had to use some elbow grease on pieces (particularly if the label was still stuck in the adhesive) but for the most part the adhesive rubbed right off with ease.
If you are looking to pick up a bottle of Goo Gone Spray Gel take a look at Target.
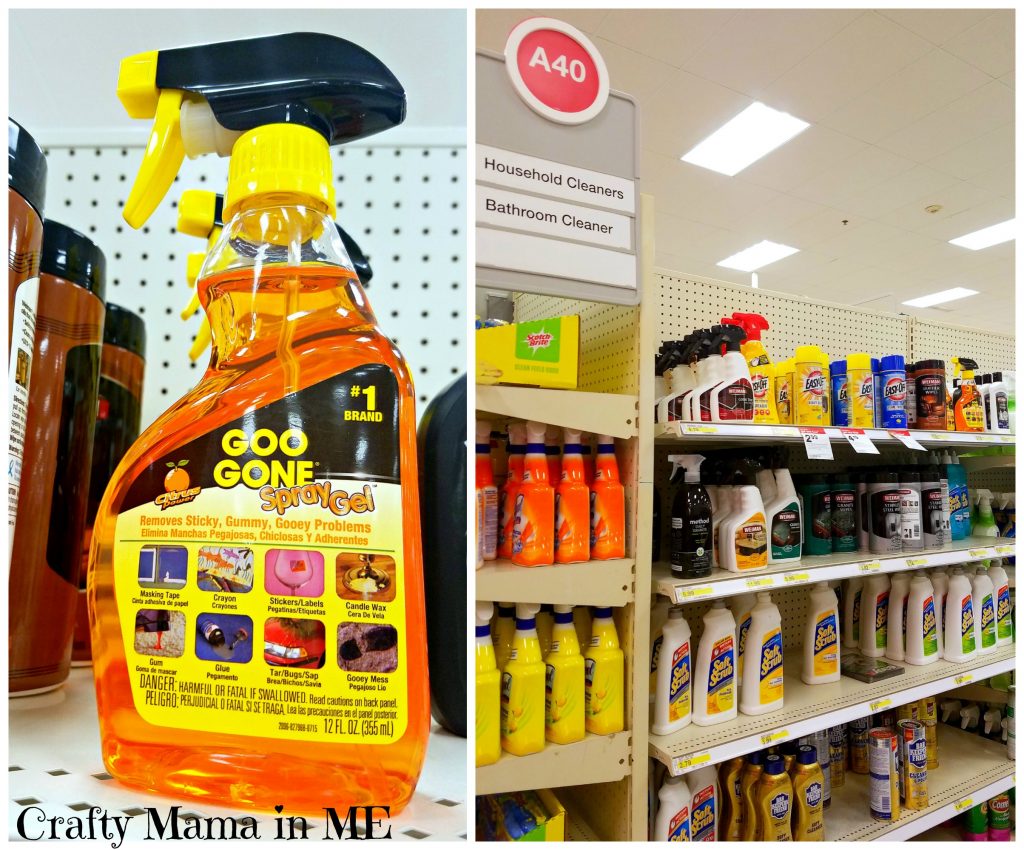
I found mine in the cleaning supplies section on the top shelf. As long as you follow the instructions on the bottle your battle with adhesive residue will be over! ***Do not use on silk, leather, suede, rubber, faux stainless steel, drywall, unfinished wood surfaces, and unsealed stone***
My kids are loving the Pumpkin themed bowling pins and I’m pretty sure my Daisy Troop will be excited to play as well at our Troop Halloween Party!
did the paint stick to the bottles? seems it might scratch off easily.
thanks
Kathy
The spray paint stayed really well – even after a few years outside in the elements they were still very orange!