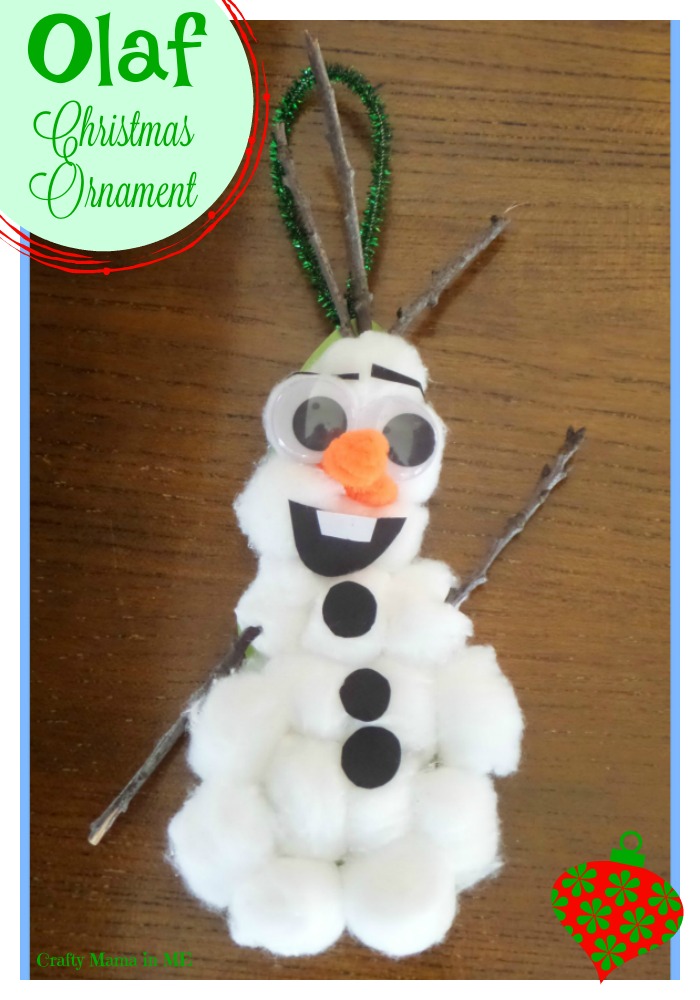
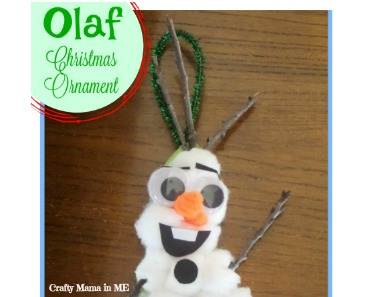
Cute and Easy DIY Olaf Cotton Ball Christmas Ornament
Since fall hit I have been brainstorming fun ideas for Olaf projects this winter. My kids and I love the movie Frozen! After we made our Cotton Ball Ghosts I realized that cotton balls would be an awesome medium for Olaf as well! When I signed up to be part of the 30 Days of…Homemade Kid Ornaments that our Olaf was destined to be a Christmas ornament!
Materials Needed:
- Cotton Balls
- Lightweight cardboard
- Scissors
- Black Construction Paper
- White Construction Paper
- 2 googly eyes
- 2 pipe cleaners (one orange for nose, one preferred color)
- 5 small sticks
- Glue
- Tape
- Plate for glue
- Printable template (download here: Olaf Ornament Printable Template)
Instructions:
- Print out the Olaf Ornament Template
- Cut the body out of lightweight cardboard
- Cut the eyebrows, mouth, and buttons out of black construction paper
- Cut the tooth out of white construction paper
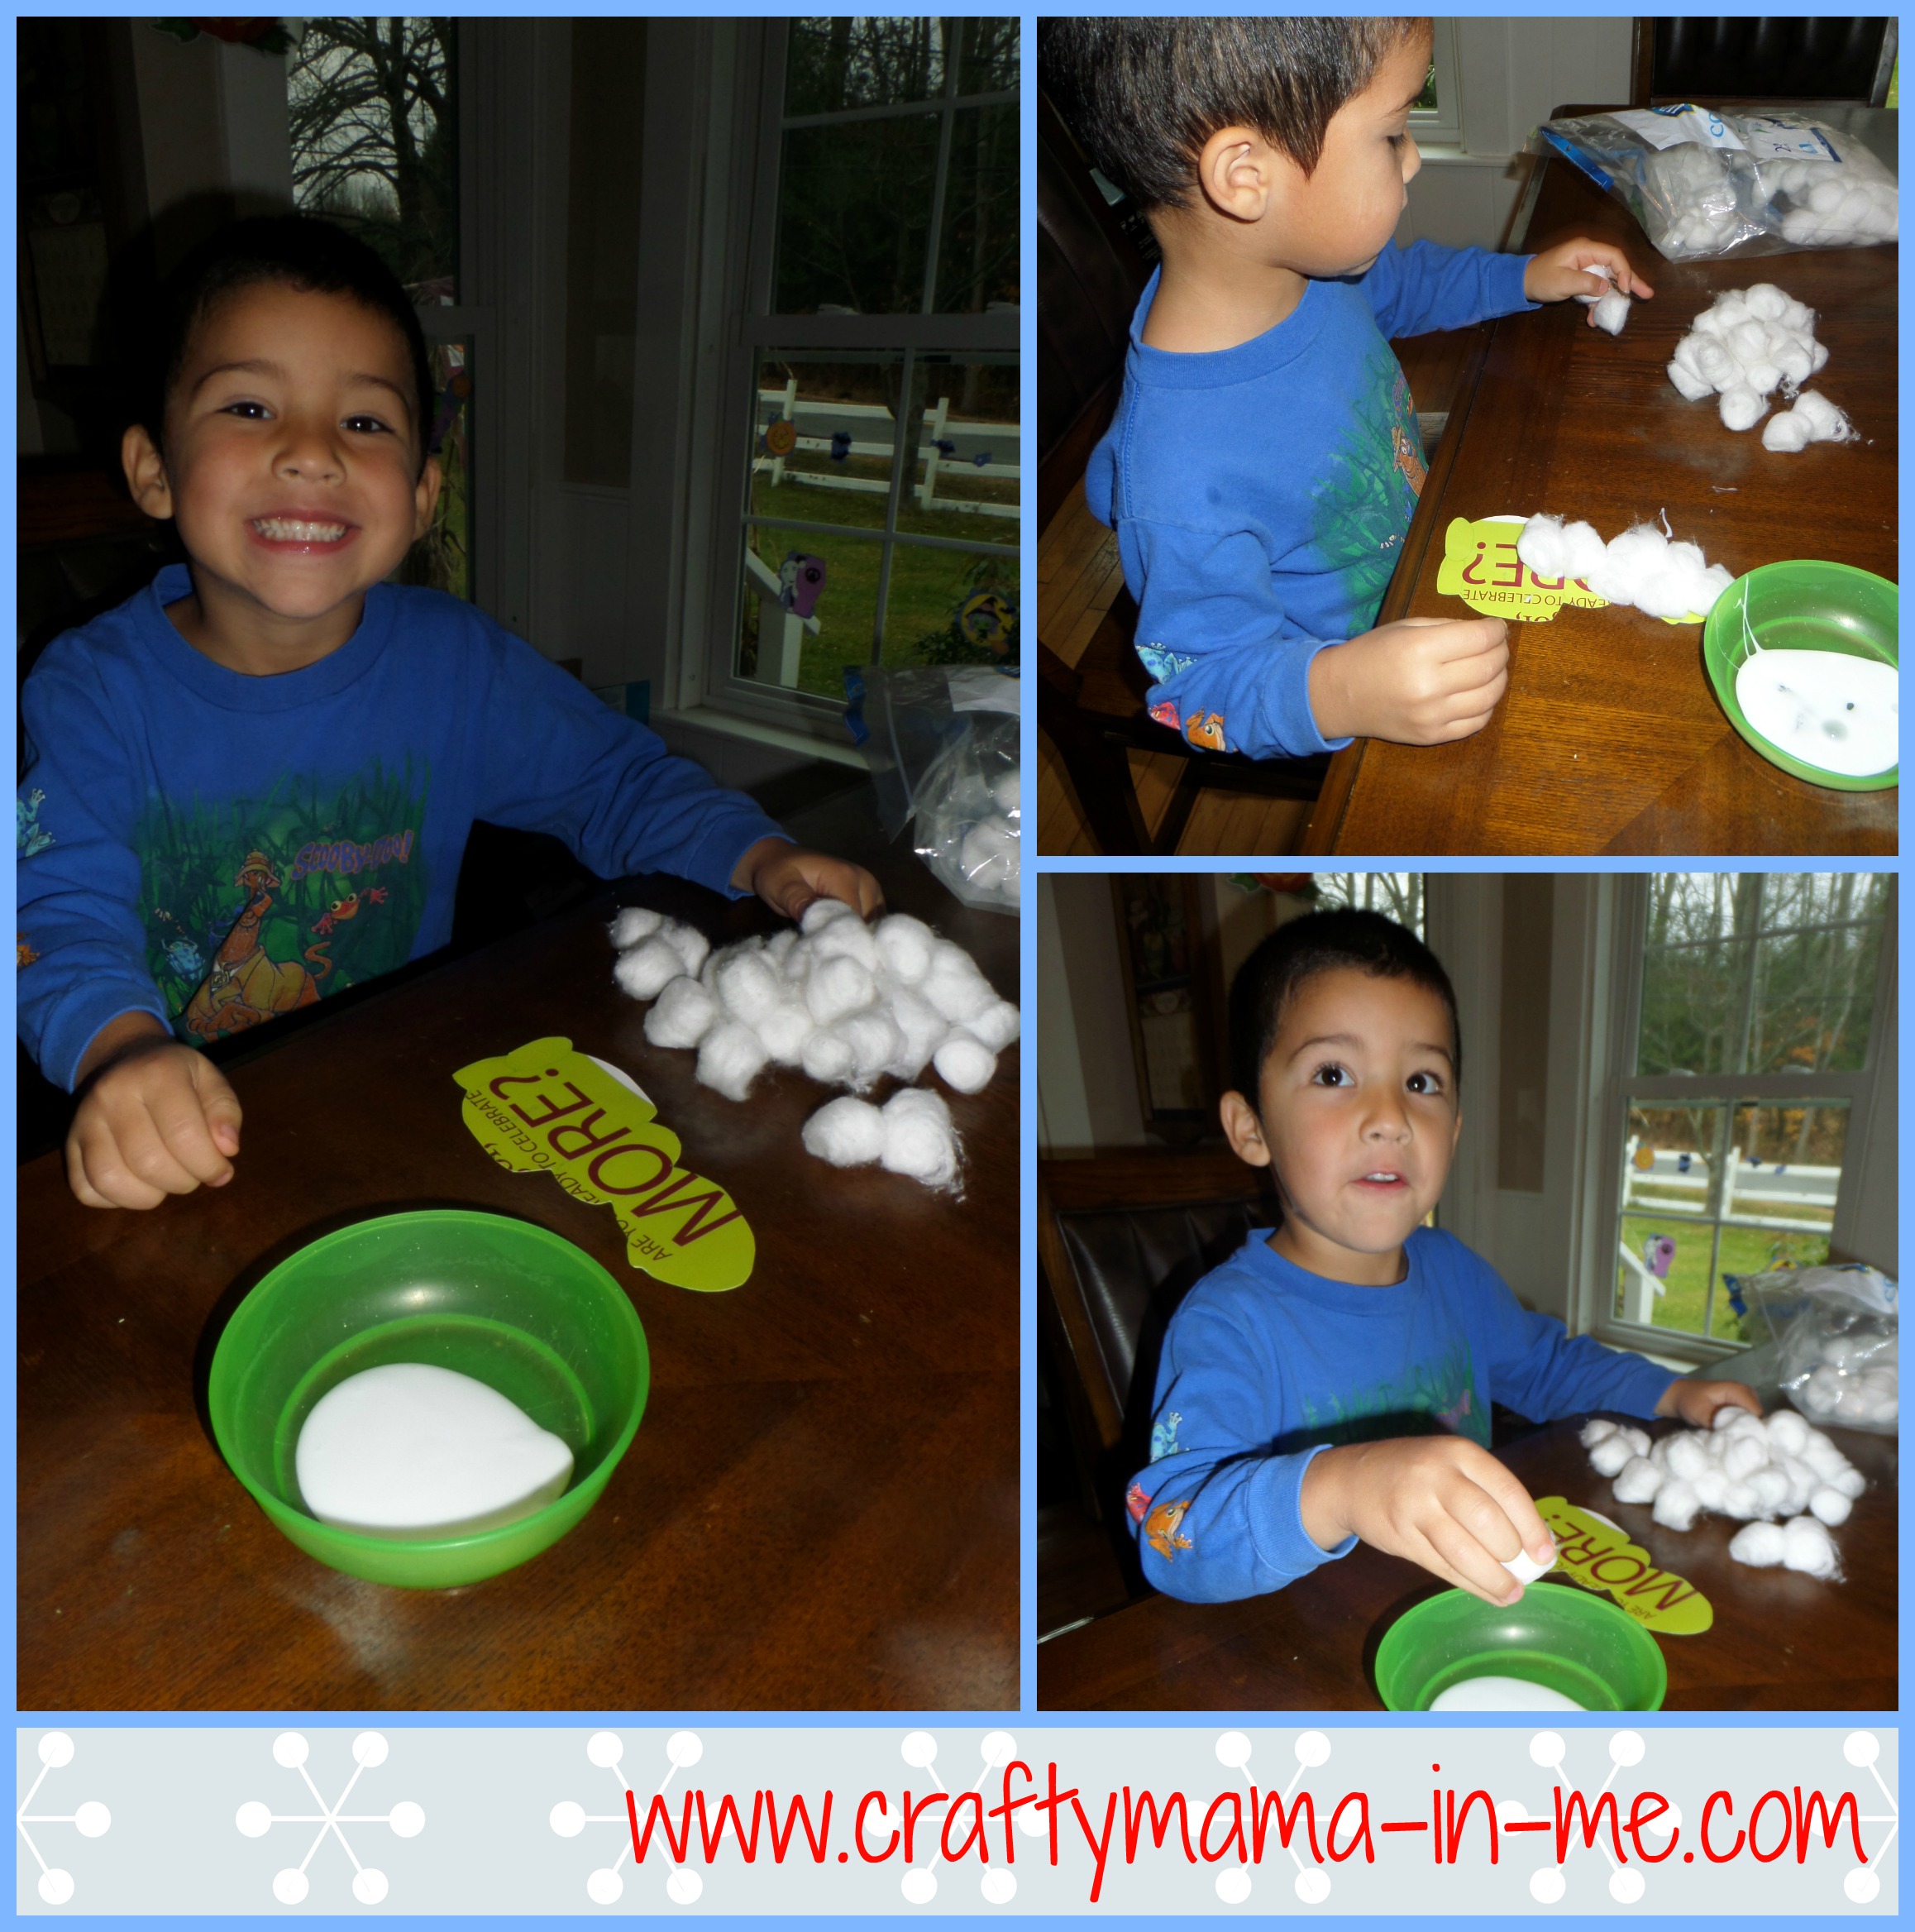
- Put some glue on the plate to dip cotton balls in
- Cover the cardboard body with cotton balls – squeeze them together so they don’t hang off the edges
- Dip 3 sticks in glue and stick in between the cotton balls and the cardboard at the top of the body to make Olaf’s hair (have them stick out at various angles)
- Dip the remaining 2 sticks in glue and stick in between the cotton balls and the cardboard – one on each side to make Olaf’s arms (position at whatever angle you prefer)
- Glue on the googly eyes, eyebrows, mouth, tooth, and buttons
- Using the orange pipe cleaner fold one end to make a roughly 1-1/2 inch long ‘V’ shape, using the remainder of the pipe cleaner (do not cut) wrap it around the ‘V’ to form a filled in nose
- Fold the remaining pipe cleaner in half and twist the bottoms together forming a loop
- Tape the ends to the back of the cardboard body
- Let dry
- Display!
This project has a lot of instructions but was completed by my four year old with some assistance. For younger children I would have all of the pieces pre-cut to speed the completion time up. For older children you could let them trace the template pieces onto the construction paper and cut out themselves. My son loved that we got to go outside to collect sticks for the project!
Kid Made Christmas Ornaments
Stay tuned for this years Kid Made Christmas Ornaments Series – you can follow along daily from November 19th until November 25th or check back any time after that for a full recap of the great ornaments shared this year.
Check out this great craft from Rebecca at The Moments at Home.